
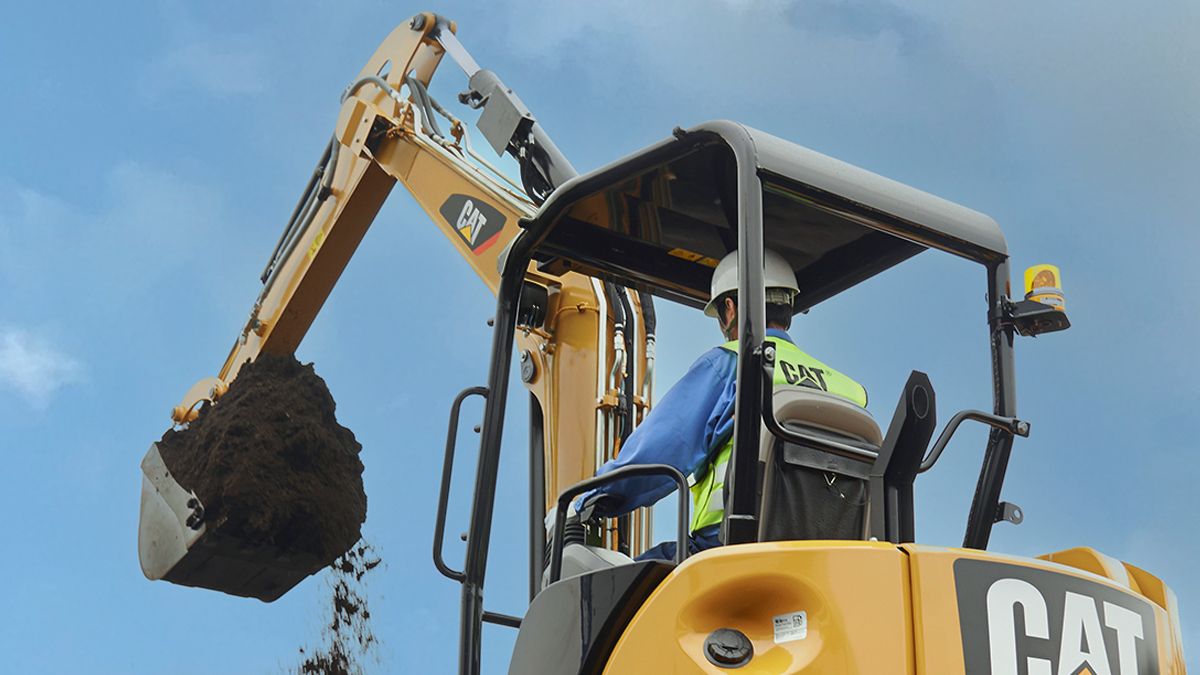
How to Replace Your Cat 305.5 Bucket Cylinder
Estimated read time: 3 minutes
This Self-Service Options (SSO) bucket cylinder instructional is ideal for owners who have solid mechanical knowledge. And knowing how to replace a bucket cylinder is a significant way to improve your bottom line. Be sure to review all safety warnings and prep your work area before starting.
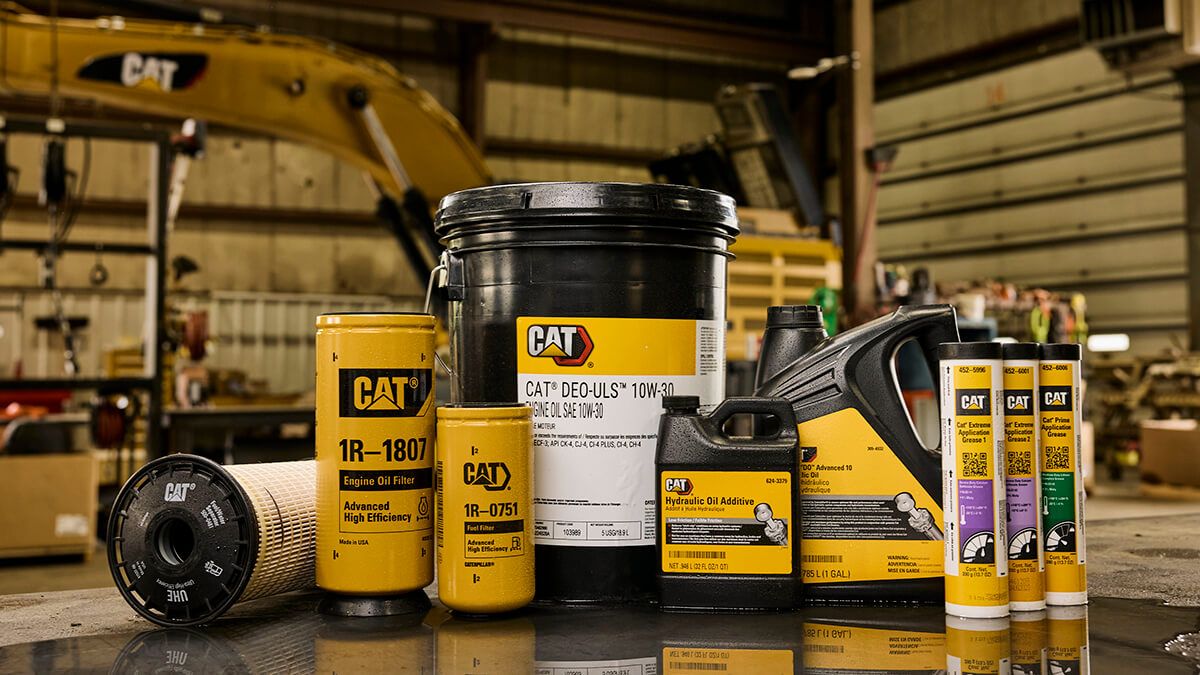
SSOs provide detailed service instructions and recommended parts and tooling so that you can do the maintenance yourself. For replacing the 305.5 bucket cylinder, you’ll need:
- Seal kit
- Bucket cylinder
- Bucket cylinder group
- Rod assembly
- Tooling such as bearing puller adapter, pin puller assembly, driver group and more. The rest of the tools are listed in the SSO.
Always remember to take your time and wear your personal protective equipment (PPE).
Watch this video to see how it's done for a Cat 305.5 bucket cylinder:
Remove Old Cat 305.5 Bucket Cylinder
First, make sure the system is completely depressurized. Even after shutdown, the system can retain pressure and pose serious risks. Relieve cylinders with lock valves because they may still hold pressure after hoses are disconnected. Let the hydraulic oil cool before handling any components. Place drain pans before opening the system and follow proper containment and disposal procedures. Now:
- Remove the bolt and guard.
- Disconnect the hose assemblies.
- Attach a lifting device to the rod end of bucket cylinder, which is approximately 80 pounds (36 kilograms).
- Remove the bolt and pin assembly.
- Lower the bucket cylinder to the ground.
- Attach a lifting device again to the bucket cylinder, which is about 150 pounds (68 kg).
- Remove the clip and set the hose assemblies aside.
- Remove the bolt and pin assembly.
- Remove the bucket cylinder.
Install New Bucket Cylinder
- Lift and position the bucket cylinder using a suitable device.
- Install the pin assembly and bolt.
- Reposition the hose assemblies and install the clip.
- Attach a lifting device to the rod end and raise it into place.
- Install the other pin assembly and bolt.
- Connect hose assemblies.
- Reinstall the guard and bolt.
Torque Specifications:
- Plugs: 128 ± 6 N·m (95 ± 5 lb ft)
- Head: 847 N·m (625 lb ft)
- Piston: 2070 N·m (1530 lb ft)
- Setscrew: 32 N·m (23 lb ft)
You're Done!
That wraps up your bucket cylinder replacement on the Cat 305.5 Mini Hydraulic Excavator.
Find the Self-Service Options you need. Enter your equipment’s serial number to view parts and step-by-step instructions specific to your machine.
WARNING
Hydraulic cylinders with lock valves may remain pressurized even after the hoses are disconnected. Always relieve pressure completely before disassembly to prevent injury or death.
NOTICE
Before opening any hydraulic component, have containers ready to capture fluid. Follow all proper containment and disposal practices.
Your Business

Caterpillar Brands
- Caterpillar.com
- My Marketing Preferences
- Site Map
- Cookie Settings
- Legal
- Privacy
- Do Not Sell or Share My Personal Information
- Accessibility Statement
- US-English
- © 2026 Caterpillar. All Rights Reserved.