
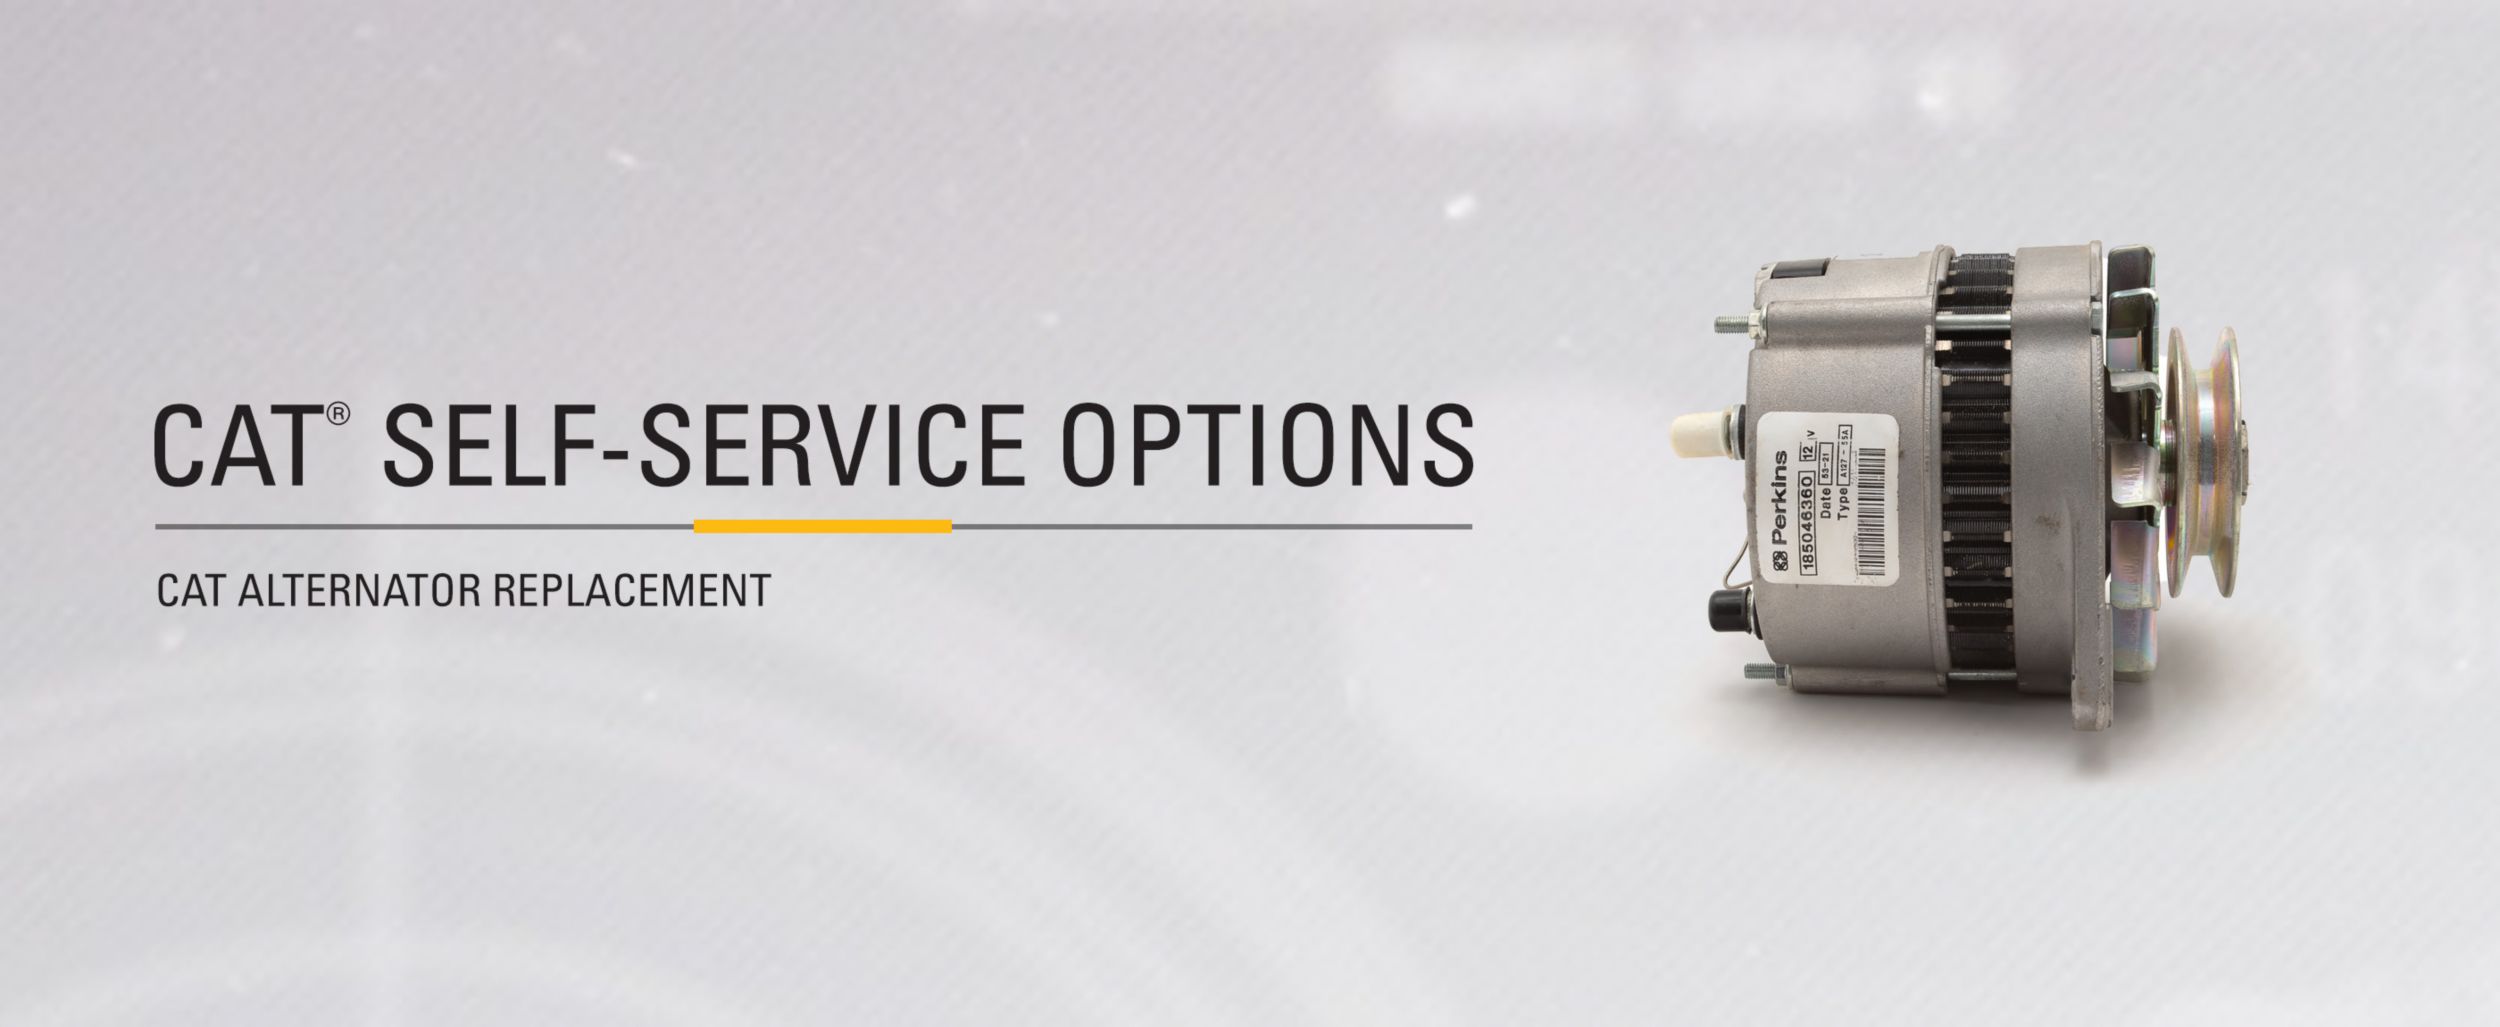
Cat® Alternator Replacement
CAT SELF-SERVICE OPTIONS (SSO)
Ready to replace a Cat® alternator? Our Self-Service Option includes what you need to do the work yourself.
Cat alternators are built to Caterpillar OEM specs to help ensure your equipment starts fast and finishes strong every day — even in the most extreme conditions and harshest climates.
Know What You Need?
Start Shopping
Discuss Self-Service Options With Your Dealer
Connect With Your Dealer
Maintenance Tips
Watch for these common repair indicators:
Engine cranks too slowly to start
Alert indicator comes on
Dim or flickering lights
Dead battery
Grinding noise when the ignition key is turned
Other electrical failures


What's in the Cat Alternator Replacement Self-Service Option?
Recommended Parts
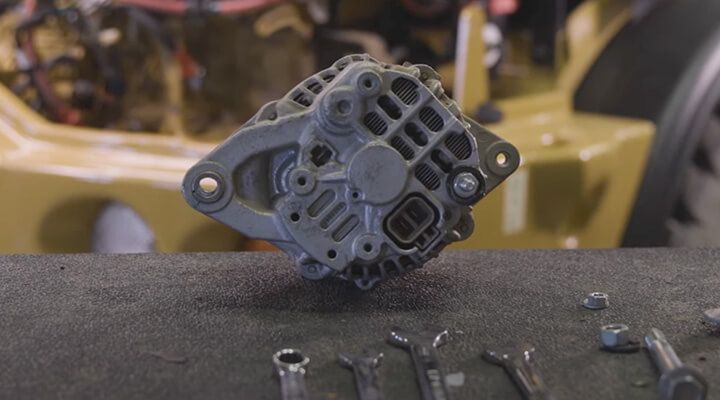
Alternator
Recommended Tools
No specialized tools required
Repair instructions included
Compact Track Loaders
239D, 249D, 259D, 279C, 289C, 289D, 299C, 299D
Compact Wheel Loaders
901C, 902, 902C, 903C, 904H, 906, 906H, 906K, 906M, 907H, 907K, 907M, 908, 908H, 908K, 908M, 910, 910F, 910G, 910K, 910M, 914G, 914K, 914M, 916, 918F, 918M, 920K, IT14G
Small Wheel Loaders
924F, 924G, 924H, 924K, 926M, 928F, 928G, 928H, 930G, 930H, 930K, 930M, 936F, 938F, 938G, 938H, 938K, 938M, IT28G, IT38H
Skid Steer Loaders
216, 216B, 226, 226B, 226D, 228, 232, 232B, 232D, 236, 236B, 236D, 242, 242B, 242D, 246B, 246, 246C, 246D, 248, 248B, 252, 252B, 256C, 262, 262B, 262C, 262D, 268B, 272C, 272D
Backhoe Loaders
414E, 415F, 416, 416B, 416C, 416D, 416E, 416F, 420D, 420E, 420F, 422E, 422F, 424B, 424D, 426, 426B, 426C, 426F, 427F, 428, 428B, 428C, 428D, 428E, 428F, 430D, 430E, 430F, 432D, 432E, 432F, 434E, 434F, 436, 436B, 436C, 438, 438B, 438C, 438D, 442D, 442E, 444E, 444F, 446, 446B, 446D, 450E, 450F
Multi-Terrain Loaders
247, 247B, 257, 257B, 257D, 267, 267B, 277, 277B, 277C, 277D, 287B, 287C, 287, 287D, 297C, 297D
Small Dozers
D3G, D3K, D4E, D4G, D4K, D5G, D5K
Mini Hydraulic Excavators
300.9D, 301.4C, 301.5, 301.6, 301.6C, 301.7D, 301.8, 301.8C, 302, 302.2D, 302.4D, 302.5, 302.5C, 302.7D, 303, 303C, 303E, 303.5, 303.5C, 303.5D, 303.5E, 303.6, 304, 304C, 304D, 304E, 304.5, 304.5E, 304.6, 305, 305C, 305D, 305E, 305.5, 305.5D, 305.5E, 306, 306E, 307, 307B, 307C, 307D, 307E, 307.5, 308, 308C, 308D, 308E, 308.5, 309, 310
Telehandlers
TH103, TH210, TH215, TH220B, TH306D, TH330B, TH340B, TH350B, TH3510D, TH355B, TH357D, TH360B, TH408D, TH460B, TH514D, TH560B, TH580B, TL642D, TL943D, TL1055D, TL1255D
Motor Graders
120B, 120G, 120H, 120K, 120M, 140G, 140H, 140K, 140M
Soil Compactors
CS423E, CS433C, CS433E, CS44B, CS533D, CS533E, CS54, CS54B, CS55, CS56B, CS563C, CS563D, CS563E
Dozers
D4H, D5H, D5M, D5N, D6D, D6E, D6H, D6K, D6M, D6N, D6R, D6T
Hydraulic Excavators
313D, 314C, 314D, 314E, 315B, 315C, 315D, 316E, 318D, 320B, 320C, 320D, 320E, 321C, 321D, 322B, 322C, 323D, 324D, 324E, 325B, 325C, 325D, 328D, 329D, 329E, 330B, 330D, 330F
Wheel Loaders
950G, 950H, 950K, 950L, 950M, 962H, 966D, 966E, 966F, 966G, 966H, 966K, 966L, 966M, 970F, 972G, 972H, 972K, 972M
Frequently Asked Questions
What typically causes alternator failure?
Alternators have moving parts, get dirty and are subject to stress from hot and cold temperatures. Their internal parts gradually wear out. Bearing failure is most common. The bearings that allow the rotor to spin freely inside the stator can break down from dirt and heat. When they fail, the rotor will not spin efficiently and can eventually seize.
How do I remove an old alternator?
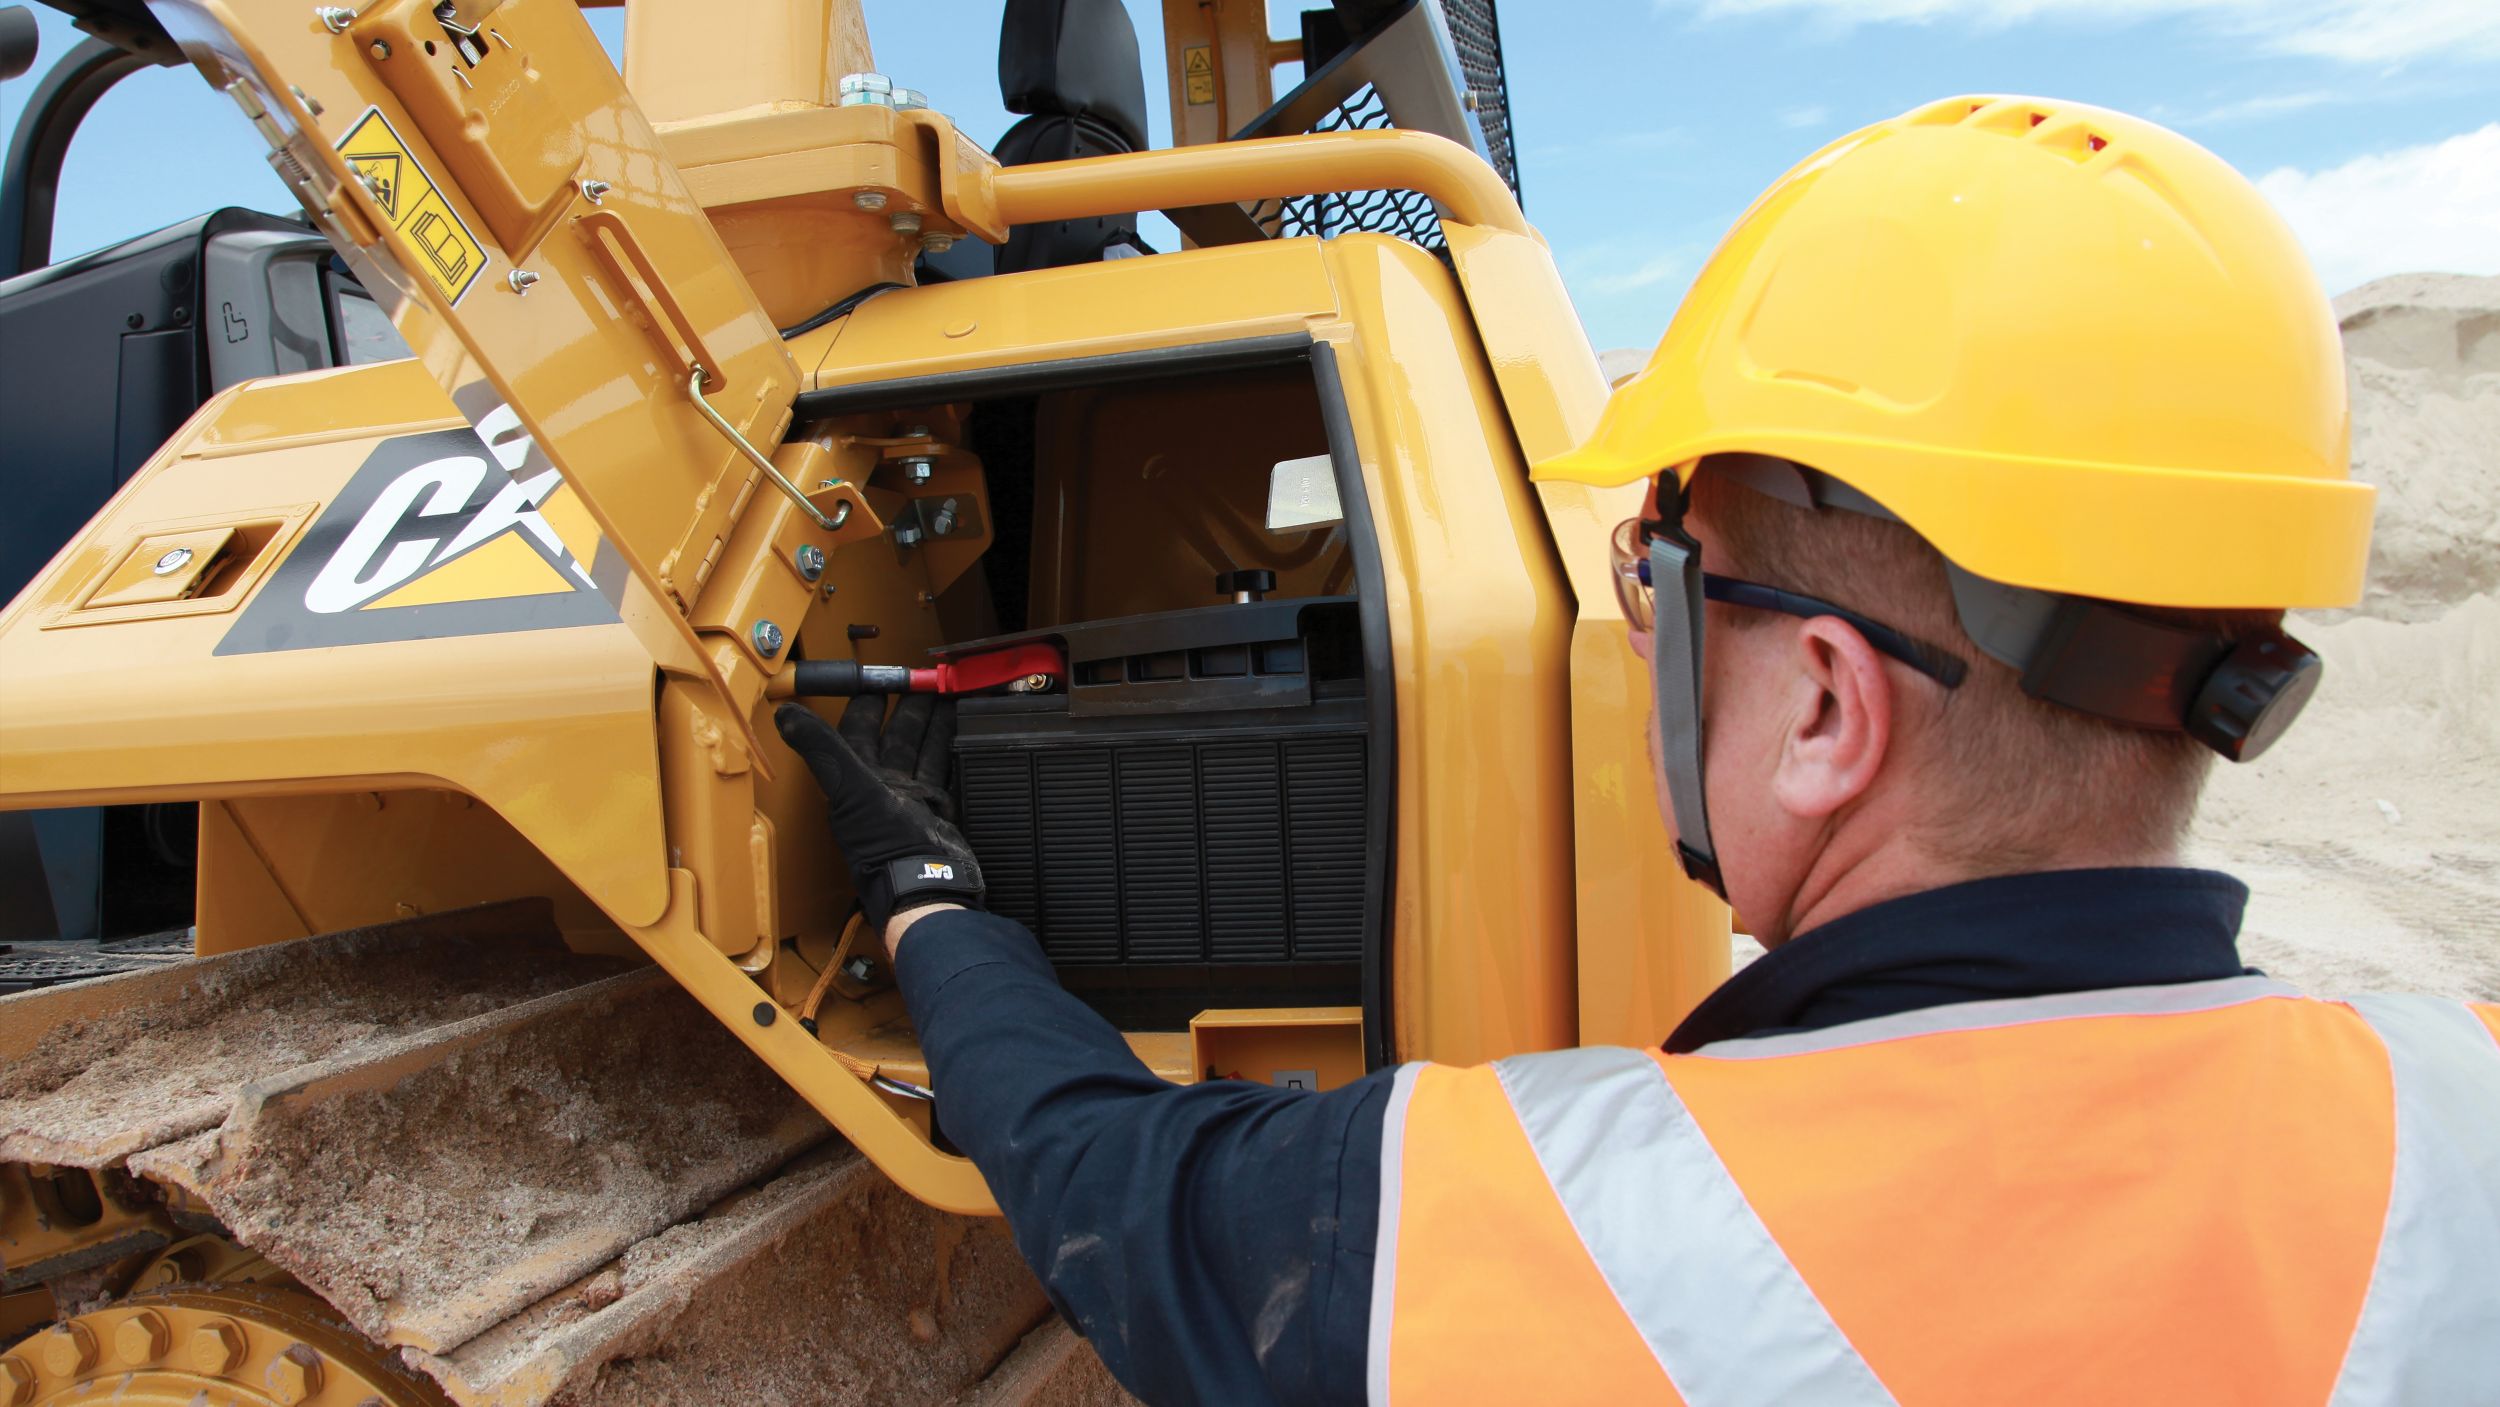
Turn the battery disconnect switch off. (If your machine doesn't have a battery disconnect switch, disconnect the battery cables.) Loosen and remove the bolts and the guard. Loosen the bolts and push the alternator in to remove the V-belt. Remove the nut and disconnect the harnesses. After you remove the bolts, you can take out your old alternator.
NOTE: Always consult your machine's Operation & Maintenance Manual for specific instructions.
How do I install a new alternator?
Insert the new alternator and put the nut and harnesses back on. Hand-tighten the bolts, install the belt and screw in the bolts. Place the guard and install the bolts. Turn the battery switch back on and test your new alternator to make sure it's working properly.
NOTE: Always consult your machine's Operation & Maintenance Manual for specific instructions.
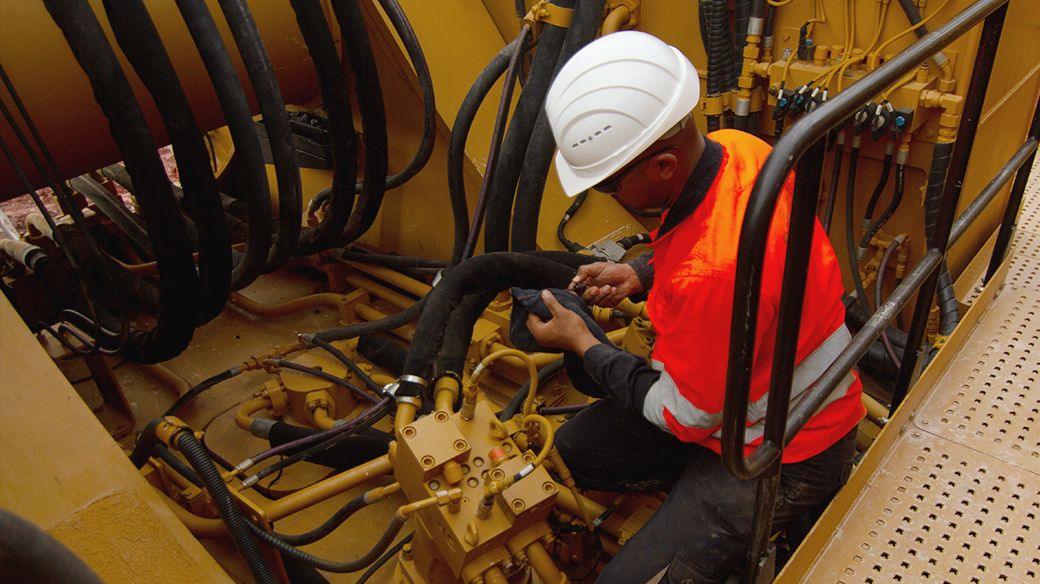
Cat Construction Equipment Maintenance: Do It Yourself Articles
Proper maintenance keeps your equipment reliable and job-ready. Check out these articles for hands-on tips to extend the life of your machine.


Your Business

Caterpillar Brands
- Caterpillar.com
- My Marketing Preferences
- Site Map
- Cookie Settings
- Legal
- Privacy
- Do Not Sell or Share My Personal Information
- Accessibility Statement
- US-English
- © 2026 Caterpillar. All Rights Reserved.